With only 1.7 grams of net carbs net carbs per serving, Keto Bounty Bars are the ideal snack for anyone on a keto diet.
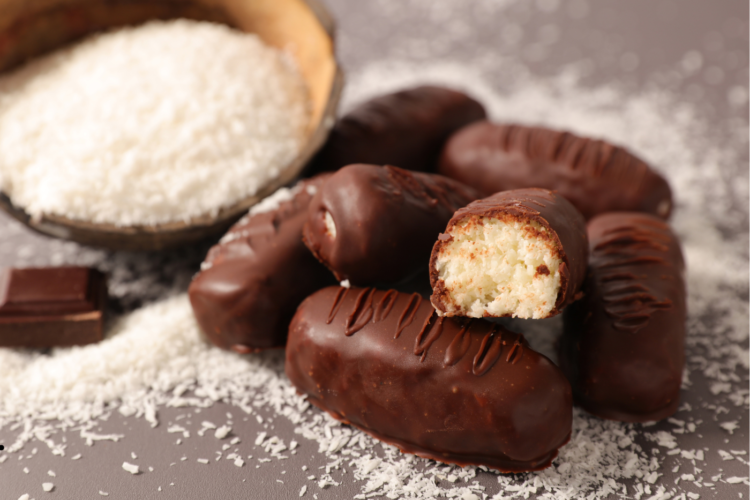
Jump to Recipe Print RecipeThese bars can even be enjoyed while frozen which makes for a refreshing treat during the summer. They are perfect for anyone craving tropical flavors. To top it all off, they require no baking and are filled with chocolate coconut goodness
What Are Keto Bounty Bars?
These bars are a sugar free alternative for those chasing a lower carb count. Designed for people on a keto diet, they are perfect for a quick snack that is both delicious and healthy. They are made of marital that satisfies your sweet tooth without the carbs.
How to Make Keto Bounty Bars
Because of its simplicity, these bar are one of the best options for keto treats. No baking is required so they are incredibly easy to prepare.
What you need to prepare these famous bars are:
Ingredients for Keto Bounty Bars
Unsweetened desiccated coconut: Use unsweetened desiccated coconut instead of shredded coconut. The thicker, grated pieces within desiccated coconut will require more time to blend.
Coconut cream: Shake the can well before you open it. Use full fat canned coconut cream for the best result.
Coconut Oil: For this no-bake recipe, coconut oil is an important component. Bars can be kept in shape because coconut oil hardens when temperatures fall below 74 degrees Fahrenheit. Refined coconut oil can be used instead if the coconut flavor is too overpowering, as refined coconut oil has a neutral taste.
Erythritol: This zero-calorie sweetener is perfect for anybody on a keto diet as it increases sweetness intake without any additional carbohydrates.
How To Prepare No-Bake Keto Bounty Bars
These bars also known as no-bake bounty bars or no-bake mounds bars are super easy to prepare in a food processor. To prepare these bars, follow these three steps:
Step 1: Process the Ingredients
To start, all ingredients must be added to a food processor. The blade will chop the coconut into smaller pieces which will help form a dough like texture that sticks for the bounty bars.
Try to remember to blend melted coconut oil, not solid oil. It should take around one minute to blend everything together. By the end there should be a dough that is raw but easy to shape.
Step 2: Press the Mixture into a Pan
Mix the prepared protein with any liquid of choice, such as water, and mix them generously until they are combined perfectly. Place a parchment paper in a square pan to stop the mixture from sticking to the pan, and lightly oil the edges. Pour the mixture into the pan, and evenly spread it around the surface. Afterward, seal the pan with a lid and place it in the fridge to chill.
Turning the bars over and pressing down on all surfaces is critical to ensure all air pockets are removed. If this step is not performed the bars will be weak and very easy to break apart.
Step 3: Set the Mixture in the Freezer
Freezing the bars helps in keeping its structure. Gummies like bars require a cold environment so that the coconut oil turns into solid, making the bars stiff enough to be cut into smaller manageable pieces.
Place the pan in the freezer for 10-15 minutes and do not exceed this time or else slicing the bars might be difficult.
Step 4: Portioning into Bars
Heat the knife blade before slicing. This is done by placing it on an open flame. It is easier to cut through coconut oil if the knife is melted, so this ensures that your knife cuts through the coconut block without any issues.
To make the bars resemble Bounty bars further round off the edges and gently mold them into the shape you desire with your hands.
Step 5: Dipping in Melted Chocolate
Chop up the bars into smaller pieces and dip them in melted chocolate so that every piece is covered with chocolate. To melt the chocolate chips to a smooth consistency, add in a few drops of coconut oil.
Let the melted oil firm while the bars are placed on a plate covered with parchment paper before returning them back to the freeze. Use two forks to hold each piece and let them get covered in melted chocolate whilst making sure the whole piece is covered.
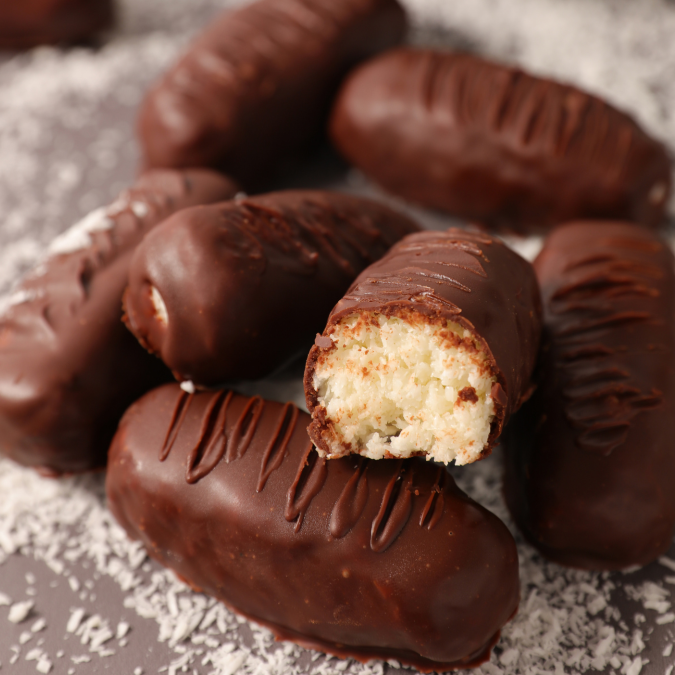
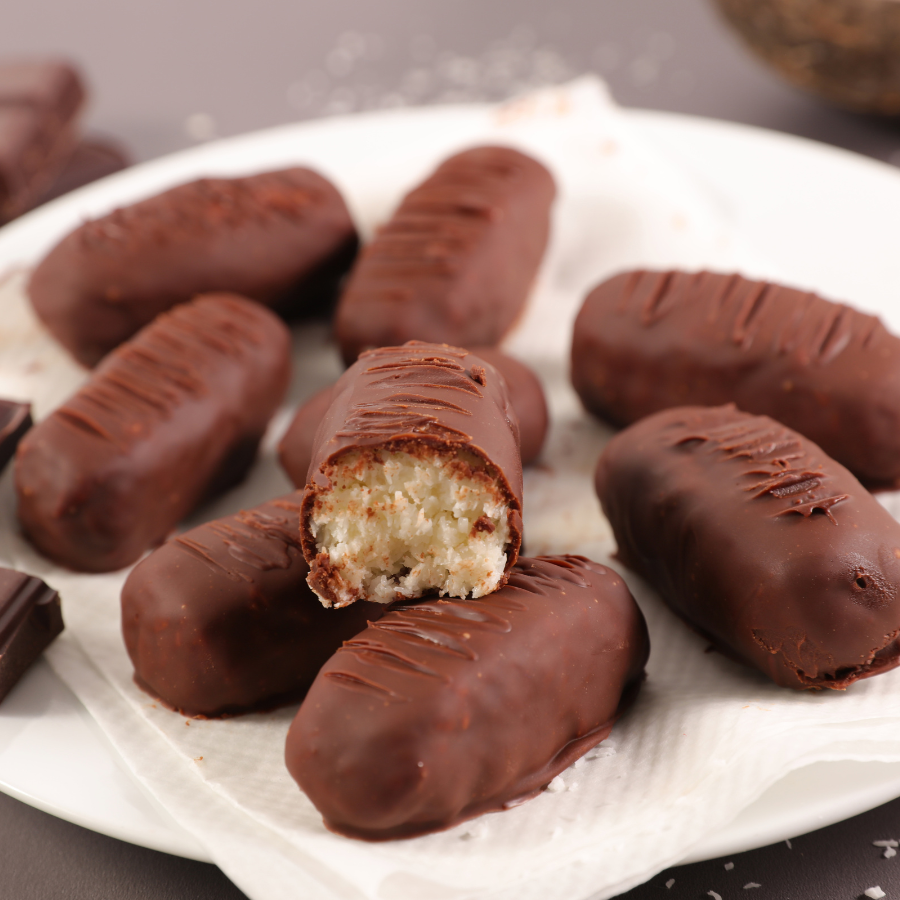
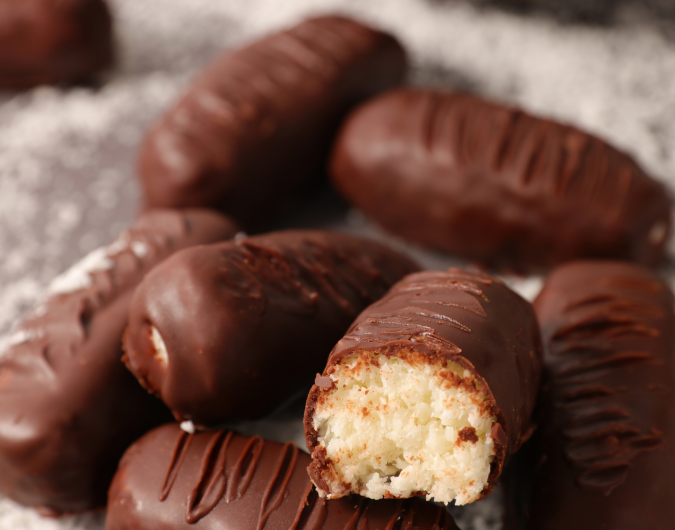
Even if coating the bars may be somewhat of a tussle and an effort the results obtained are really pleasant.
Serving Keto Bounty Bars
Being blessed with a combination of healthy fats, these bars serve as great Keto snacks. Coconut oil is also great for those on a candida diet, given its antifungal properties as well as for preventing candida overgrowth.
All of it sounds great, but do note that while these bars can appear tantalizingly delicious, they are quite low in calories and it is difficult to eat more than two at a time. Of course if you prefer sweeter feel free to toss in a few more extra drops of stevia.
Coconut oil is beneficial for individuals who are on a candida diet because it has antifungal properties. It also helps a lot of people in preventing candida overgrowth. When people consume coconut oil regularly they tend to have better results.
For saving Keto bounty bars, make sure to keep your no-bake Bounty bars in an airtight container within the fridge for up to a month.
Storing Keto Bounty Bars
You can also stash them in the freezer for longer saves. Simply take them out of the freezer roughly half an hour before consumption, for best results.
These bars are a delightful treat to relish at any hour of the day while being certain that you don’t stray off from the low-carb diet.
Dreamy No-Bake Keto Bounty Bars
Course: Dessert, KetoCuisine: AmericanDifficulty: Easy20
servings10
minutes30
minutes169.7
kcalWith only 1.7 grams of net carbs net carbs per serving, Keto Bounty Bars are the ideal snack for anyone on a keto diet.
Ingredients
2 cups Unsweetened Desiccated Coconut
½ cup canned coconut cream, well-shaken before use, full-fat (minimum 30% fat), and at room temperature (not chilled)
⅓ cup Granulated Sweetener
⅓ cup Coconut Oil melted
Chocolate coating
6 oz Sugar-Free Chocolate Chips
2 teaspoons Coconut Oil
1-2 Monk Fruit Drops or Stevia Drops
Directions
- Get a square pan measuring 9 inches x 9 inches and keep it aside after lining it with parchment paper.
- In the food processor, add the melted coconut oil,ate coconut , erythritol, and canned coconut cream while making sure to shake the can beforehand.
- Blend the ingredients at a high speed for a minimum of 1 minute. In case it’s necessary, blend for 20 second periods, stopping to scrape down the batter after each time until the coconut batter is finely blended and very moist.
- Push down the dough into the pan and make sure that there are no pockets of air. To begin with, push it down with your hands and finally smooth the surface with a spatula.
- You can now remove the mixture from the blender. Leave it in the freezer for 10 minutes to allow it to set. Ensure not to freeze it for too long as that can make it difficult to break into bars without crumbling. There is no issue of taste, but broken pieces do not make neat bars.
- While preparing the soft coating, return the dishes with the bars back to the freezer and place them on a plate that is covered with parchment paper.
- At the same time, microwave the chocolate chips that do not contain sugar along with the coconut oil. Stir the mixture within 30 seconds until it is fully melted. If you like something sweet, add stevia drops to the liquid chocolate.
- Using two forks, carefully take the coconut bars and place them into the chocolate and turn them so that they are fully covered in chocolate. Afterwards, put them on the plate with the parchment paper or on a cooling rack. After finishing all of them, freeze them again for 10-15 minutes so the chocolate coating can solidify.
- Once they are Bounty bars are made, keep them in an air tight container in the fridge for a maximum of 4 weeks, or freeze them for a long term. If you decide to freeze them, make sure to take them out and defrost them for 30 minutes before consuming.
- Remove the pan from the freezer. Lift the parchment paper to take out the layered coconut and place it onto a chopping board.
- Cut the block into rectangles while using a sharp knife that has been warmed above a small flame to prevent breaking. Aim for twenty pieces total.
- You can manually round off each rectangle to get that classic Bounty bar appearance, if desired.
Notes
- Serving and Storage Tips:
Store in an airtight container in the fridge (up to one month)
Freeze for longer storage; thaw 30 minutes before serving
Nutrition Facts
1 servings per container
- Amount Per ServingCalories169.7
- % Daily Value *
- Total Fat
136g
175%
- Saturated Fat 11.2g 56%
- Sodium 3.7mg 1%
- Total Carbohydrate
7.3g
3%
- Dietary Fiber 5.6g 20%
- Total Sugars 0.8g
- Protein 0.7g 2%
- Calcium 2.2mg 1%
- Iron 0.3mg 2%
- Potassium 46.2mg 1%
- Vitamin C 0.1mg 1%
* The % Daily Value tells you how much a nutrient in a serving of food contributes to a daily diet. 2,000 calories a day is used for general nutrition advice.
